
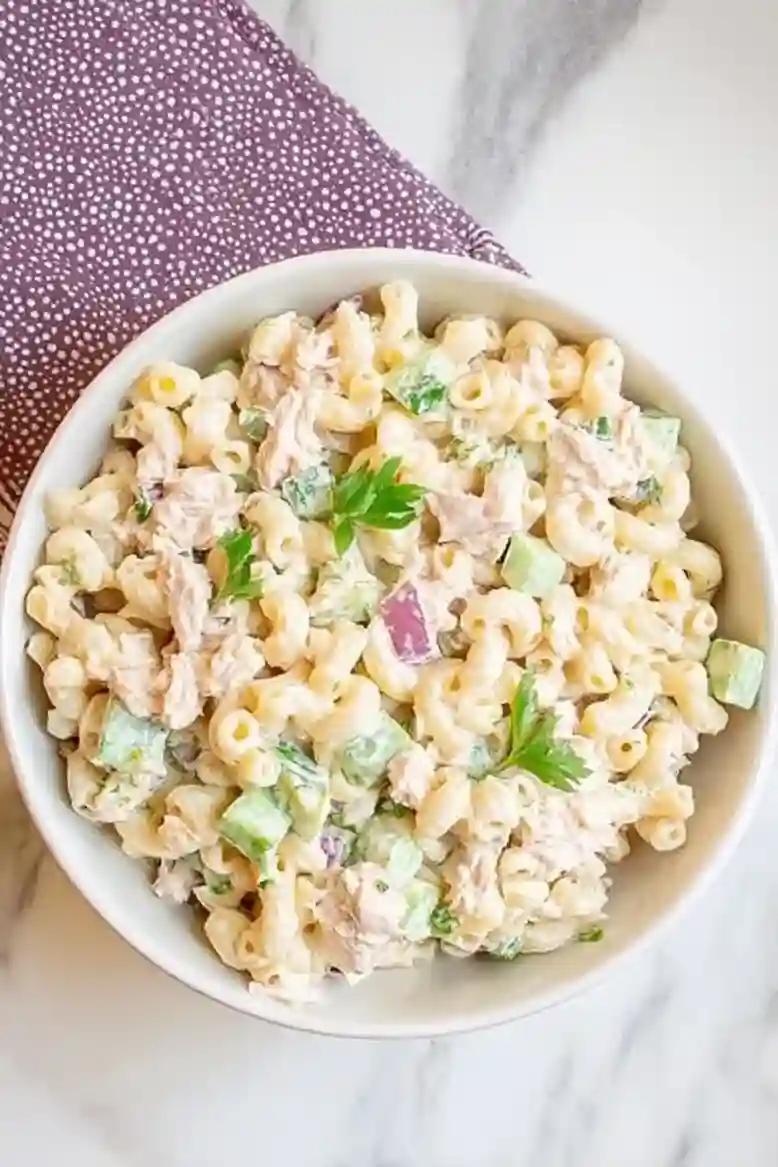
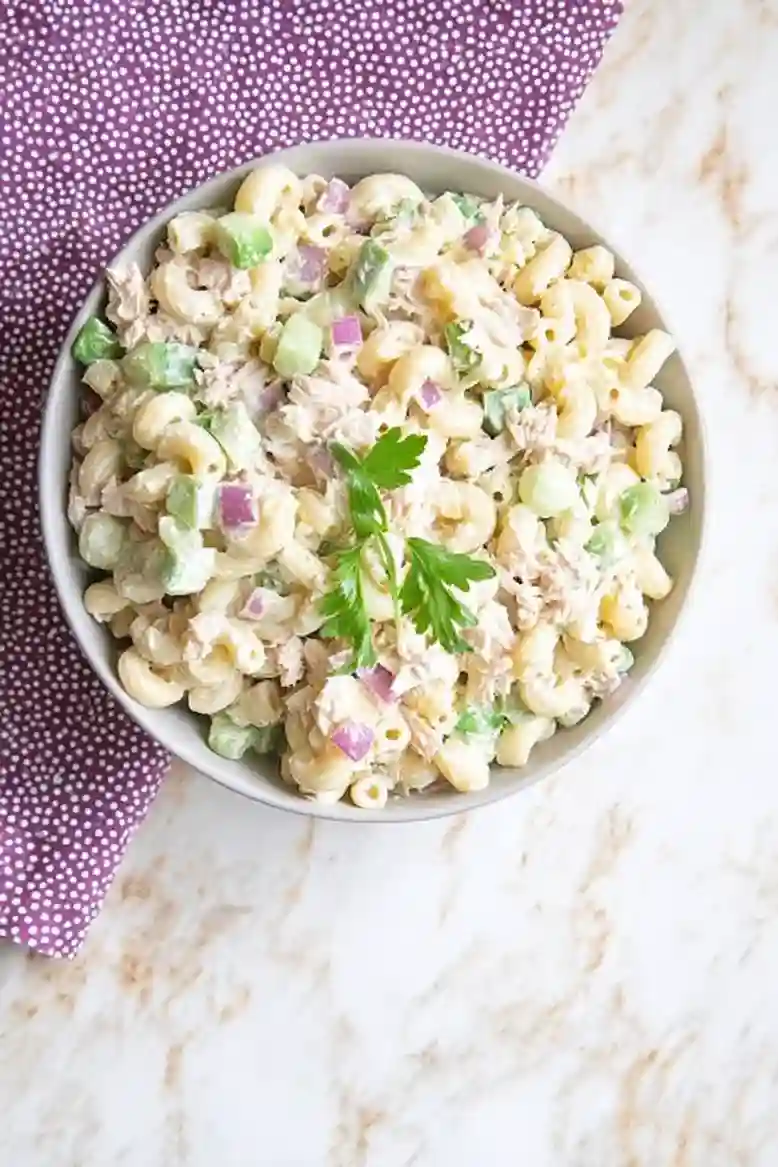
This tuna macaroni salad is a quick and easy dish that fits right in for lunch or a picnic. With just a few ingredients, you can whip it up in no time. It’s creamy, refreshing, and packed with savory flavors!
This recipe addresses freshness for outdoor events, improves flavor with mayo, and achieves an ideal ratio of tuna to vegetables for better texture.
I often struggle with finding something that everyone can enjoy, especially since my family has gluten allergies. This recipe has become a lifesaver. It’s customizable, so I can add extra veggies or even some chicken when I want to switch it up.
You can have this salad ready in under 20 minutes, and it tastes even better the next day after sitting in the fridge. Using organic mayo really boosts the flavor and gives it that creamy texture everyone loves. Don’t forget to chill it before serving, which helps keep it fresh for warm days!
If you need another dish that’s just as easy, try this Refreshing Summer Pasta Salad. It’s a great option for those sunny afternoons!
Why You Will Love This Recipe
- Quick Prep Time , You can whip this tuna macaroni salad up in under 15 minutes. It’s a lifesaver for busy days when you want something tasty without spending hours in the kitchen.
- Refreshing Flavor , The combination of creamy mayo, crunchy veggies, and savory tuna creates a flavor profile that’s both light and satisfying. It’s perfect for a sunny day picnic or a simple lunch at home.
- Customizable , This recipe is super flexible, letting you swap in chicken or add more veggies as you like. It’s a fun way to make it your own every time.
- Better With Time , If you can resist the temptation to devour it right away, the flavors meld beautifully overnight. The next day’s leftovers are often even more delicious.
Ingredient Notes
- Cooked elbow macaroni: This is the backbone of the dish! I always use al dente pasta; it holds up better when mixed with all the goodies.
- Canned tuna: Tuna brings that savory kick. Look for chunk light or solid white for a firmer texture and better flavor, but feel free to swap in salmon if you’re feeling adventurous!
- Mayonnaise: This creamy factor ties everything together. I like a good-quality mayo that isn’t too thick, but you can always add Greek yogurt for a lighter option if you prefer.
- Green pepper: Fresh and crunchy, green pepper adds a nice crunch. Grab crisp ones, they should feel firm and not have any soft spots; red or yellow peppers work great as well!
- Red onion: You’ll want this for that sharp bite and pop of color! If you want something milder, sweet Vidalia onions are a tasty substitute; just chop them small.
Keep scrolling to the recipe card below for the full printable recipe!
Recipe Tips
- If pasta has turned mushy, cook it al dente and rinse under cold water to stop the cooking process immediately.
- When the salad feels bland, gradually add more mayo along with a pinch of salt and pepper, tasting as you go.
- If your vegetables seem overpowering, chop them finely and chill the salad for at least an hour to allow flavors to blend.
- For keeping the salad fresh at outdoor events, chill it in the refrigerator for a few hours before serving to maintain its quality.
- If you’re adjusting for creaminess, consider adding mayo in small amounts, usually about a tablespoon at a time, until it meets your preference.
Serving Suggestions
- Serve tuna macaroni salad alongside fresh fruit or grilled chicken for a substantial meal. Garnish with fresh herbs to add visual appeal and flavor.
- This salad fits well into summer potlucks or family reunions. You can also use it as a filling for lettuce wraps or inside a gluten-free wrap.
- Try a light vinaigrette to drizzle over your salad or enjoy it plain for simplicity. A sprinkle of lemon juice before serving brightens the overall flavor.
Storage Guidelines
- To keep your tuna macaroni salad fresh, follow these storage tips:
- Room Temperature: Do not store at room temperature. This dish contains mayo, which spoils quickly if left unrefrigerated.
- Refrigeration: Place salad in an airtight container and refrigerate for up to 3 days. Keep it chilled until ready to serve.
- Freezing: Wrap salad tightly in plastic wrap or aluminum foil, then place it in a freezer bag. Freeze for up to 2 months. To serve, thaw in the refrigerator overnight.
Recipe Variations
- You can use cooked shells or rotini in place of elbow macaroni for a different texture.
- Add 1 tablespoon of Dijon mustard combined with the mayo for an extra layer of flavor.
- Either substitute diced celery or shredded carrots to add crunch and freshness to your salad.
- If you’re preparing salad for a larger group, scale up the recipe by doubling all ingredients to serve 8.
Did you make this recipe? Scroll down to leave a star rating and review!
Tuna Macaroni Salad

Equipment
- Large mixing bowl
Ingredients
- 2 cups cooked elbow macaroni (470g)
- 1 5 oz can canned tuna, drained, fork mashed (140g)
- ¼ cup mayo (60g)
- ½ cup green pepper, chopped (75g)
- ½ cup red onion, chopped (75g)
- ½ cup celery, chopped (75g)
- pepper to taste
Instructions
- Start by tossing the cooked elbow macaroni in a large bowl. You want to see that lovely creamy texture starting to form as you combine it with the mayo. It helps to create a rich base for all the other ingredients. Be careful not to overdo the mayo at this stage.
- Scoop in the drained, fork-mashed tuna. You will notice it adds a subtle ocean freshness to the salad. This is where the protein packed in tuna gives you a nutritious boost. Avoid chunks of tuna, as they can overwhelm the texture.
- Stir in the chopped green pepper, red onion, and celery until everything is evenly distributed. You will see those crisp colors blending in, enhancing the overall look of the salad. It is crucial not to leave any veggies out, as they add necessary crunch and flavor.
- Sprinkle in some pepper and taste the mixture. You will want to adjust it to your liking. Seasoning helps elevate the salad, making it more flavorful. Just be cautious with that pepper; too much can overpower other flavors.
- Cover the bowl and chill the salad in the fridge for about an hour. You will know it is ready when the flavors have melded together beautifully. Letting it sit is key, as it reduces any overly crunchy veggie bites. Watch for timing, because too long can lead to sogginess.
Leave a Reply